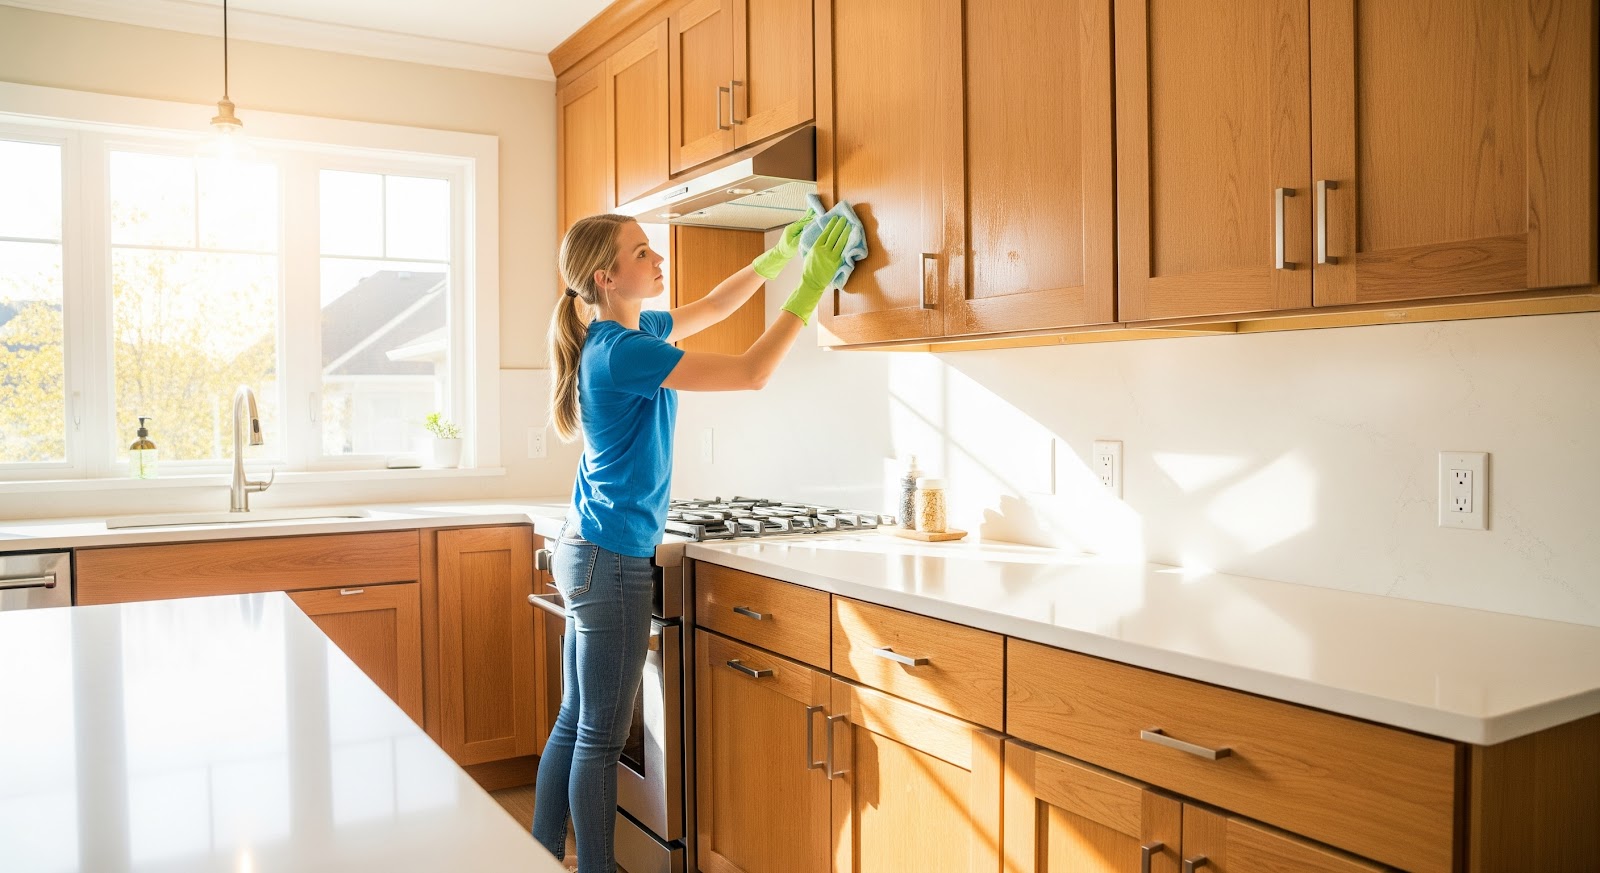
Knowing how to clean kitchen cabinets is an essential part of responsible kitchen care. Over time, cabinets accumulate grease, food residue, and airborne particles that can be difficult to remove if not addressed properly. Incorrect cleaning methods can damage surfaces, strip finishes, or leave behind streaks and buildup that attract even more grime.
At Seattle Cabinets, we’ve built and installed custom cabinets made from a range of materials and finishes, and we know that each type requires a specific cleaning method. Using the wrong approach can cause permanent dulling, swelling, or surface wear.
This guide offers step-by-step, material-specific methods for how to clean kitchen cabinets, including detailed instructions for wood cabinets, painted cabinets, and heavily used, grease-prone areas. The techniques we cover focus on practical cleaning that protects cabinet surfaces while removing dirt effectively.
General Cleaning Basics for Kitchen Cabinets
When learning how to clean kitchen cabinets, it’s important to use techniques that not only remove grime but also protect the cabinet’s structural components and surface coating.
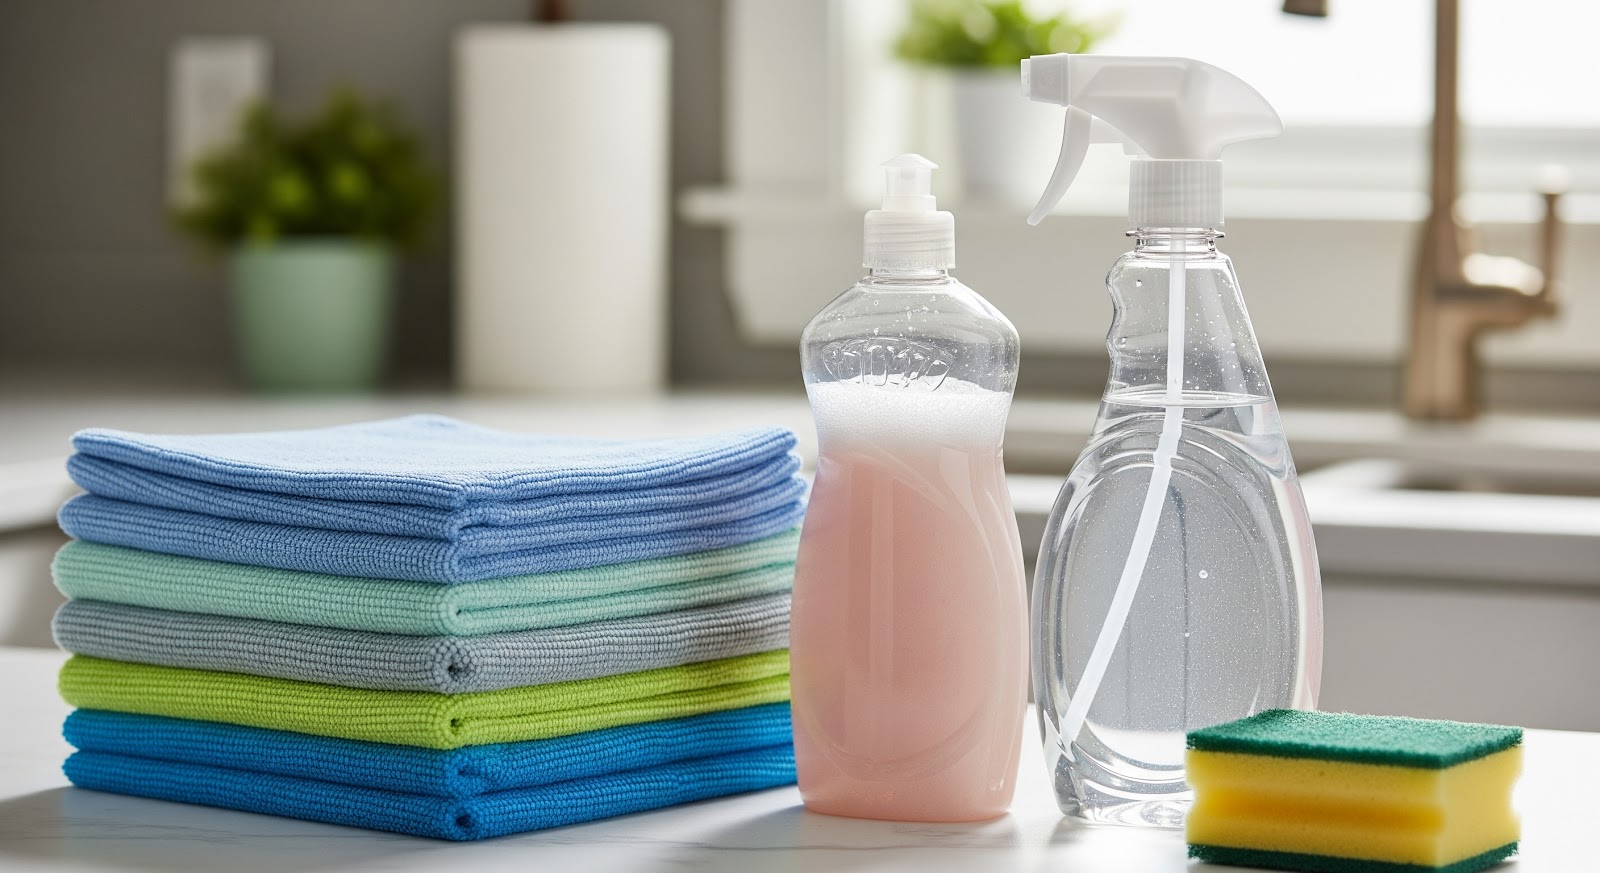
What to Use to Clean Kitchen Cabinets:
- Microfiber cloths: These are recommended because they lift dust and oils without scratching or leaving fibers behind, which can happen with lower-quality cloths or paper towels.
- Dish soap and warm water: Mild dish soap effectively breaks down grease without softening sealants or clear coats. Avoid using vinegar or citrus-based solutions at this stage, as repeated exposure can slowly degrade some cabinet finishes.
- Spray bottle: Applying cleaning solution directly to the cloth minimizes the risk of excess moisture seeping into panel edges, joints, or hardware recesses, all common moisture entry points that can cause swelling or warping over time.
Cleaning Process:
Lightly spray the soap solution onto the cloth and wipe the cabinet doors, frames, and handles. Focus on areas around stoves, sinks, and hardware, where grease and airborne particles tend to settle. Always dry surfaces immediately, especially near door edges, seams, and bottom panels, where trapped moisture is most likely to cause long-term problems like veneer separation or finish bubbling.
If you’re researching how to clean kitchen cupboard doors, the same process applies, but special attention should be given to corners and routed designs, where buildup can accumulate and is often missed during regular cleaning.
How to Clean Wood Cabinets and Make Them Shine

When cleaning wood cabinets, using the wrong products or too much moisture can cause permanent damage. Unlike laminate or painted cabinets, wood is porous and more sensitive to both cleaning chemicals and long-term moisture exposure.
Start by using a microfiber cloth and a mild dish soap solution, just as you would for general cabinet care. Lightly dampen the cloth and wipe along the grain of the wood. Cleaning against the grain can push grime into the wood’s natural texture, making it harder to remove and potentially causing micro-abrasions over time.
Immediately follow with a dry, lint-free cloth to remove moisture from all surfaces, especially near the bottom edges, around handles, and along door seams. These areas are most prone to water damage that can cause swelling, finish bubbling, or gradual warping if moisture is left behind. To keep the finish in good condition over time, it’s important to follow these additional cleaning guidelines:
- Never use abrasive cleaners or scrubbing pads, which can quickly erode protective coatings.
- Avoid ammonia, vinegar, or citrus-based cleaners when working with wood. These can strip the topcoat and cause discoloration over time.
- For added shine, you can occasionally use a small amount of wood polish, but it’s important to test the product in an inconspicuous spot first. Overuse of polish can lead to sticky buildup that traps more dirt.
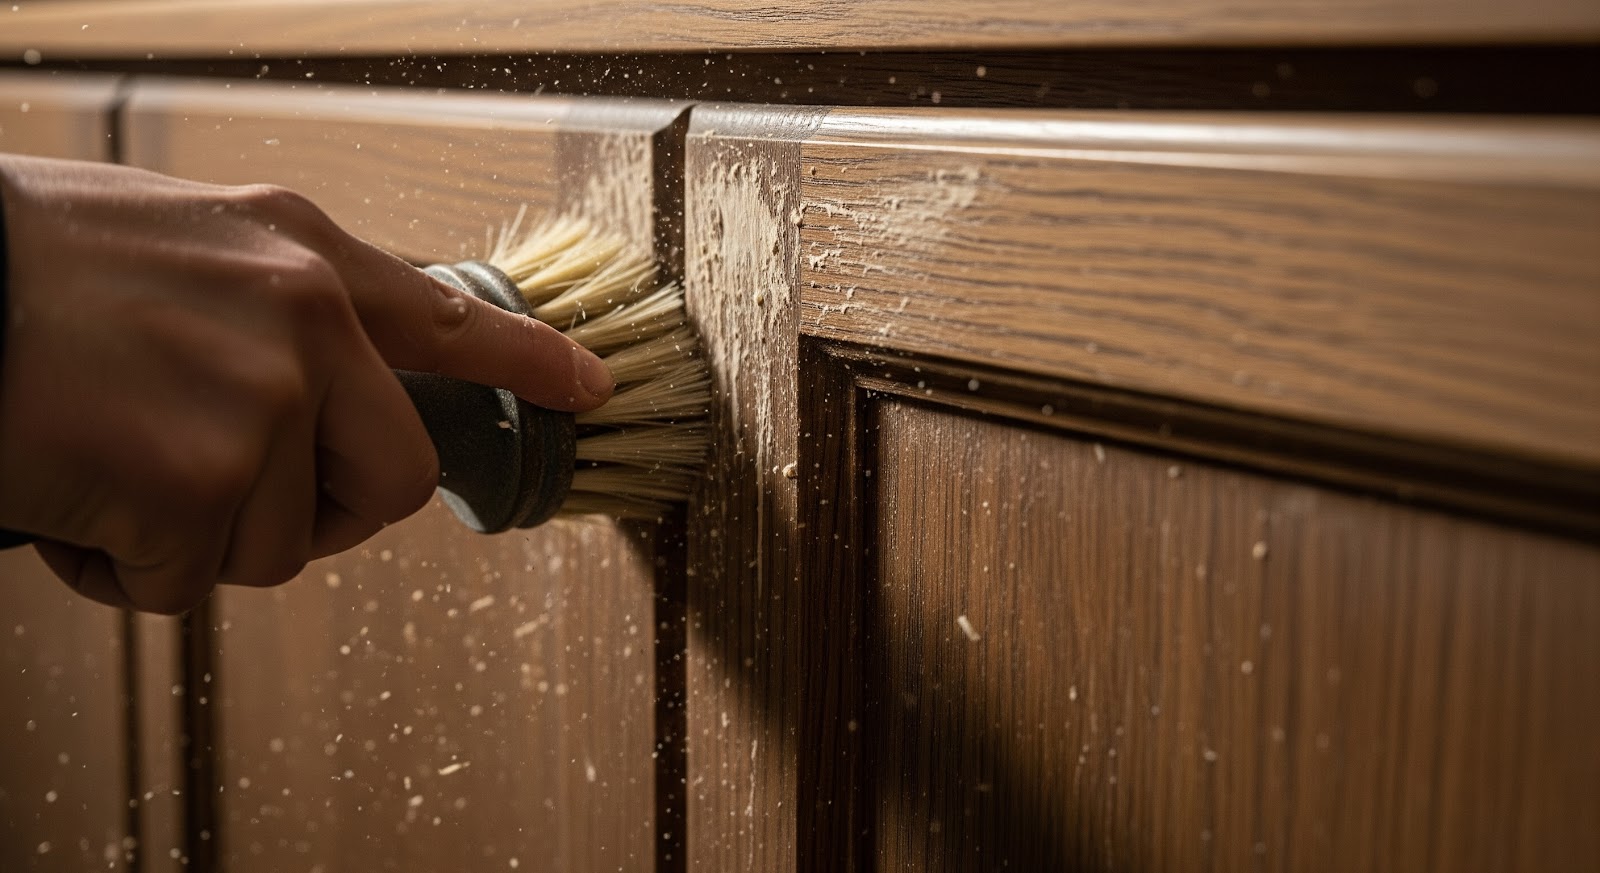
For homes that feature more traditional cabinet styles, such as kitchen and bathroom cabinets, wood finishes are often preferred for their warm, classic look. These cabinets frequently include detailed profiles, recessed panels, and grooves that naturally collect dust, grease, and moisture over time. Because of these design features, cleaning requires more attention to detail to prevent buildup in hard-to-reach areas.
Learning how to clean wood cabinets and make them shine isn’t about occasional deep cleaning. It’s about consistent, gentle maintenance that protects the finish while removing grime before it becomes embedded. Regular light cleaning is far more effective and less damaging than waiting for heavy buildup that demands aggressive scrubbing.
Best Way to Clean Painted Cabinets

The best way to clean painted cabinets is to use a method that removes grease and residue without softening or damaging the paint layer. Painted surfaces are less porous than natural wood but are still vulnerable to scratches, moisture damage, and chemical abrasion if cleaned improperly.
Start with a mild solution of dish soap and warm water. Use a soft microfiber cloth or a non-abrasive sponge, dampened with the solution, never soaking wet. Cleaning with excess water can cause paint to bubble at seams and edges, especially around joints and hardware where moisture tends to collect. Always wipe in gentle, circular motions and follow immediately with a dry cloth to prevent water spots and moisture absorption.
For stubborn stains or sticky spots, you can safely use a baking soda paste (mix a small amount of baking soda with water) applied lightly with a soft cloth. Baking soda is a mild abrasive that lifts grime without scratching, but it should always be used with light pressure and wiped off completely to avoid residue buildup.
If you’re specifically wondering how to clean kitchen cabinets without removing the finish, it’s essential to avoid products containing bleach, ammonia, or vinegar when working with painted surfaces. These chemicals can erode the topcoat and leave dull patches. Stick to mild soap solutions and soft materials to protect the paint over time.
How to Degrease Kitchen Cabinets Without Damaging Finish

Knowing how to degrease kitchen cabinets correctly is essential, especially in areas near stoves, ovens, and frequently handled doors where grease builds up the fastest. Grease can harden over time, making it more difficult to remove without damaging the cabinet’s surface if the wrong methods are used.
For light to moderate grease, start with a solution of warm water and dish soap. Apply the solution using a microfiber cloth and wipe gently to lift the grease without softening or stripping the finish. When heavier buildup is present, a diluted vinegar solution (one part vinegar to two parts water) can be used sparingly. Always apply the solution to the cloth, not directly to the cabinet, to control moisture exposure.
Note that aggressive degreasers can quickly damage protective coatings and dull the cabinet’s appearance. Another alternative is to use baking soda as a mild degreaser. Sprinkle a small amount onto a damp cloth and gently scrub the affected area. Baking soda helps break down grease without scratching, but it should be fully wiped away with a clean, damp cloth to prevent residue.
What to Avoid When Cleaning Cabinets
As cabinet builders and installers in Seattle and the surrounding area, we regularly see well-meaning homeowners unintentionally damage their cabinets by using incorrect cleaning methods. Understanding how to clean kitchen cabinets without removing the finish also means knowing which habits can quietly wear down your cabinet surfaces over time.
One of the most common mistakes is using “all-purpose” cleaners that seem safe but are not finish-compatible, especially for certain wood and paint types. Just because a product is marketed as multi-surface doesn’t mean it’s appropriate for your cabinet finish. Knowing the best kitchen cabinet materials can help you make the right choice when selecting cleaning products.
We’ve also seen issues from excessive scrubbing in one spot, especially when people try to remove grease with stiff brushes or rough cloth. This can break down protective coatings even if you’re using a mild soap. Another frequent problem is ignoring seams and hardware bases where water tends to pool during cleaning. These overlooked areas can lead to swelling, bubbling, or separation of surface layers—issues we’ve had to repair on otherwise well-maintained cabinets.
At Seattle Cabinets, we recommend sticking to simple, low-moisture cleaning with soft cloths, but more importantly, watching for the small habits that lead to gradual surface failure. Preventing damage is often about knowing what not to do as much as knowing the right techniques.
Keep Your Cabinets Clean the Right Way
Keeping cabinets in good condition isn’t about using complicated products or deep-cleaning once in a while. It’s about using the right methods consistently. The best results come from simple, regular care: soft cloths, minimal moisture, and close attention to the areas that see the most use, like door edges, handles, and seams.